Monday, January 23, 2017

Jump!!!


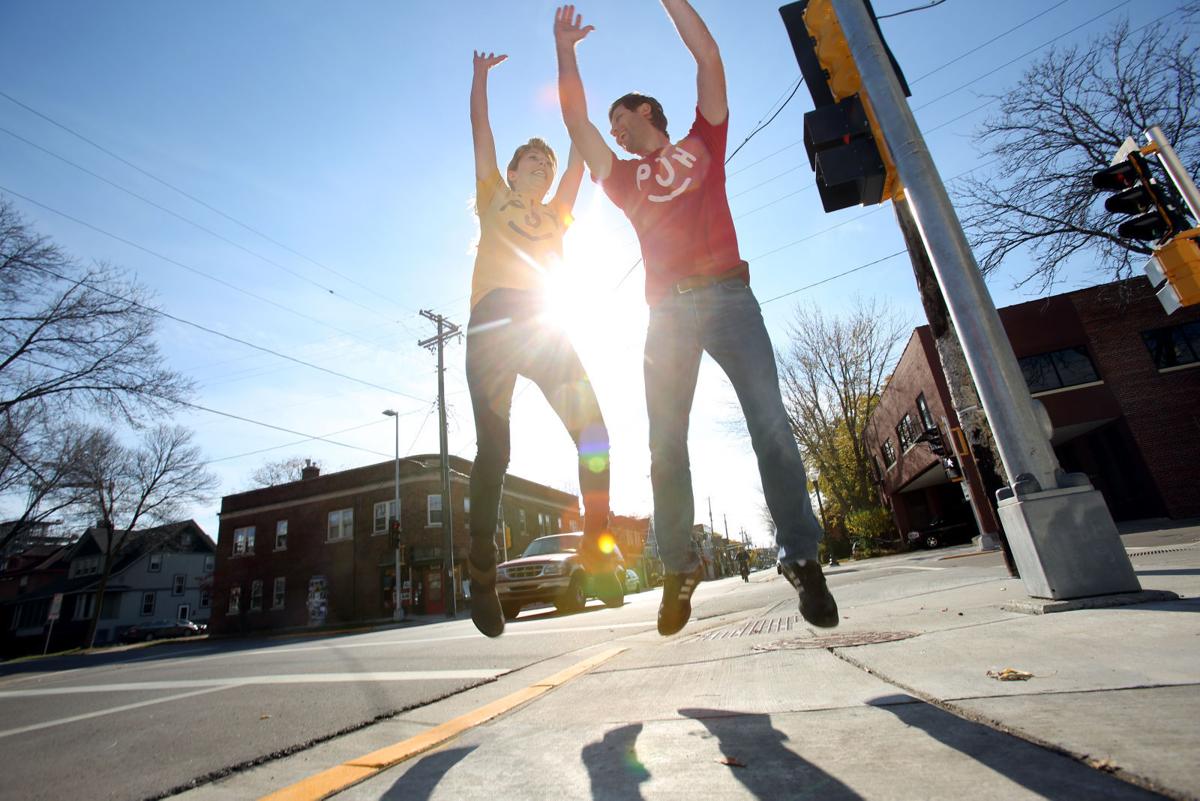
Using Shutter Priority Mode on your camera, choose 5 out of the 10 ideas of capturing people jumping and create one photo that includes all 5 photos (like a collage).

Each of your final 5 images should be from a different category below:
1.  Someone jumping with a prop of some sort (mask, instrument, ball, bag, etc.)
2.  Capture a jumping motion from start to finish showing the blur it creates.
3.  Make someone look like they are suspended in mid air (levitating) -- http://yowayowacamera.com/
4.  Have a group of 5 or more people jump simultaneously - capturing all in mid air.
5.  Get a jump photo of someone in a public space with people in the background who are not aware of what is going on.
6.  Jumping Selfie (using timer on camera).
7.  Get a parent or another teacher to jump.
8.  Mid-air collision of two people side bumping/chest bumping each other.
9.  Capture someone with long hair while on their way down from a jump with hair in the air.
10.  Just the feet of someone jumping.

After you collage your images into one photo, save the .psd file and then flatten the layers to save as a .jpg file.  Post your collaged image to your blog and answer the following questions:

What was the most difficult jump shot to take?  Why?
What did you do to overcome the obstacles that made that particular image difficult?

Due: January 27th 
  
Rubric:


Tuesday, January 17, 2017

CHANGING COLOR ASSIGNMENT


Assignment -- Changing Color

Using what you have learned in our review of photoshop, take several photos of several subjects/objects. This can be a close up photo of someones eyes, an image of a colorful object, or a scene with multiple objects included.  Make sure you have good lighting for these images.

Here is a link to a tutorial if you need additional help changing the color of an object:
https://petapixel.com/2014/05/18/tutorial-phlearn-shows-change-objects-color-photoshop/

Edit the photo in photoshop by changing the color of something in your original photo.  Save this as a new image.  Make sure you resize your images (put your pixels per inch from 300 to 150).  Post both original image and edited image to your blog.

Make sure you have the following questions answered under your images on your blog.

Why did you choose the photo to use for this assignment?

Why did you choose the color you did for replacing the original color?


What challenges did you run into during this assignment and how did you overcome them?

Post the original image, the edited image and your response to the questions above to your blog by Friday, January 20.

Monday, January 9, 2017

Aperture and Shutter Priority Modes


In Photo 186, we have students shoot almost exclusively in Manual Mode (M on the setting dial on the camera).  Many photographers don't have the time to make both aperture and shutter adjustments while they shoot, so they switch to either aperture or shutter priority mode (depending on what they are photographing).

Here is a link to an article regarding Aperture and Shutter Priority Modes:
http://digital-photography-school.com/aperture-and-shutter-priority-modes/

And another look at Aperture Priority vs. Shutter Priority vs. Manual Mode:
https://www.slrlounge.com/aperture-priority-vs-shutter-priority-vs-manual-mode-best/

We will go through this information during class time and then you will work on an initial assignment that use both Aperture and Shutter Priority Modes.

Aperture and Shutter Priority Assignment:

Using Aperture and Shutter Priority Modes, take several photos of you choice of subject matter in each mode.  After uploading the images, save one image from each mode to your blog.

Answer this question on your blog under the photos:
Why did you choose to use that particular mode for each photo?  What was it about the subject matter or what was happening in your scene that made that mode the right one to use?

I would like to have these posted to your blog by the end of class on Block Day, January 11/12th.

Monday, January 2, 2017


Welcome to Photo II

Take a look at the following links to gain additional information on how you can take your photo abilities to the next level, and how to "make" photos and not just "take" photos:

http://www.picturecorrect.com/tips/5-tips-on-how-to-take-your-photography-to-the-next-level/

http://www.picturecorrect.com/tips/do-you-take-photographs-or-make-them/

After reading the articles, write the answers to the following questions on your blog:

What excites you in life? What are your interests and hobbies, and how do you plan on using that to your advantage in the photos you take this semester in Photo II?

As Stephen Covey says, “Always begin with the end in mind”.  What does that mean for your goals during the semester?  What are your goals for the semester in this class?  What do you hope to learn?


How do you learn best?


Are their any barriers you see inhibiting you regarding this class?  How can I (teacher) help you overcome them?


Power Standards for Photo II

PHOTO II POWER STANDARDS


1.  Advanced DSLR Camera Operation (Aperture & Shutter Priority, etc.)
2.  Advanced Compositional Elements and Techniques
3.  Advanced Photoshop Enhancements, Techniques and Effects
4.  Advanced Lighting Techniques & Studio Lighting
5.  Learning about real world photo profession and applications
6.  Digital File Organization and Back-up
7.  Troubleshooting camera and photo issues
8.  Participating in a Productive Studio Environment.

Sunday, January 1, 2017

Photo II Curriculum Framework

http://cdn.urbandaleschools.com/wp-content/uploads/2014/05/Photography-II-2011.pdf

The link above references the Curriculum Framework we use for Photo II; however, we will have a very strong focus on digital photography and editing images in Photoshop to create various digital effects in images you take.